During the Inca Trail, it is possible to find some steep stretches. The trekking poles are an excellent option for those of us who do not have resistance in our knees, due to some injury or for those who did not have much time to train our body. In that sense, we can understand hiking poles as an ideal tool for hiking. In this short article, we want to talk about these hiking items that are often neglected. Sometimes because they seem more of a nuisance than a help as such. Stay here, to learn more about these items and if they are really necessary for the 4-day Inca Trail.
What are the trekking sticks?
Trekking sticks are also known as walking or trekking sticks. It is considered a common accessory for those who go on trekking routes regularly. However, it has its detractors and thus some defenders. Before going into the specifics of this accessory, it is important to note that it serves primarily as a point of support, improves the pace of walking, and allows for greater stability in difficult terrain. So, trekking sticks are functional, even though they may be uncomfortable for some. However, some can be adjusted in altitude and according to the height of the wearer for greater comfort.
The trekking sticks were created as a way to lessen knee pain, especially on ascending terrain. They will serve as two extra points of support and impulse beyond just striding on one foot. In this way, the necessary force is distributed when walking or more precisely when ascending stairs. This is the mechanism for the legs to use less force and therefore generate less wear and tear. On the other hand, it can also serve as a support or stabilizer for the camp, if an injury occurs, it can be used as a splint to apply pressure. Other ways to use it will be to stabilize some cameras and can also be used for defense against an animal attack or similar situations; something very rare during the Inca Trail.
Before we delve into the use of trekking sticks, we want to talk about the different options you can find. There are some 3-body ones, they are mostly less cumbersome and easy to store. Some of them are not adjustable, so you have to be careful when you buy them. The other sticks are full-body or telescopic. These can adjust the height of the stick more accurately and safely. At the same time, the other sticks must be bent, which can sometimes be a problem. In the case of the Inca Trail you can use both, the section is generally not strictly ascending. But, if you want more stability, the telescopic ones are the best option. When storing them, the ideal thing to do is to attach them or hang them on the backpack.
There are two widely accepted materials for these accessories. The most commonly used materials are aluminum and carbon fiber. Aluminum sticks are slightly heavier, while carbon fiber sticks are lighter. Unfortunately, the latter may splinter or be less resistant to a strong impact. For this reason, many people prefer to use aluminum sticks because of their greater resistance, which allows them to perform multiple functions more safely.
How to use trekking sticks?
Now that we know the two types of sticks, it is important to know how to use them effectively. Only then, will we be able to understand their functionality so that we don’t have problems when using them. However, there isn’t much science to it. The important thing is to use the wrist strap to generate less force when carrying them or just hold them with your hands. When walking it requires simply making the steps or strides as when walking normally. Only this time you have to support the sticks slightly to generate more traction. In short, it follows the natural movement of walking.
If you are in a hurry and the terrain is flat, it is advisable to generate small swings in the stick to help traction more dynamically. Only in this way, will it be possible to feel the impulse of the sticks. On slopes, when ascending, it is important to use the poles at the same time and support them together. In this way, the impulse will be carried out with the support of the arms and the supporting leg, distributing the force in the three points. On the other hand, if you are on a descending route, it is important to give more altitude to the poles, so that you can reduce the tension of descending.
On the other hand, the poles are designed to work in pairs, in case you forget one of them or it breaks. It is advisable to use it with caution and otherwise. If possible avoid it, but it can be an excellent option for ascending and descending sections since it can serve as a support point. However, it should be used with care as it can unbalance or cause other difficulties if not used correctly.
When using the canes, you should generate a 90° angle with the ground. The poles are comfortable to use thanks to the rubber grips they have and the average weight per unit is between 250 to 300 gr. You should not grab the handles of the poles with force, this will only exhaust you, use force only when necessary. If you find yourself in very complicated terrain, something that will not happen on the route to Machu Picchu on the Inca Trail, you will have to stop using them and balance with your hands. Therefore, it is recommended to use walking sticks for the Inca Trail, whether it is a 4 or 2-day trek. The route is simple and has no complicated sections.
There are different types of canes. The main difference is in the tip and rosettes of the baton. These implements will help in different ways during your performance. For example, to do the Inca Trail or any trek to Machu Picchu, a trekking cane will be necessary. These usually differ from mountaineering poles in the grip they provide. On the other hand, Trail Running poles are much lighter and snow poles should have larger circumference rosettes.
Walking sticks on the Inca Trail on the way to Machu Picchu
As already mentioned, we recommend the use of walking sticks on the Inca Trail route to Machu Picchu. This is because, although the terrain is flat, at times we will find ascending sections composed of stairs or simply an ascending path. Walking sticks will be of vital use for these moments. It is recommended to use qualified hiking poles to avoid accidents. Also, try to avoid those that are very simple and end up only serving for one route and then are discarded.
During the route to Machu Picchu, it is likely to use the walking sticks more frequently from the first 3 days. The first two days from Piscacucho to Pacaymayo you start an ascending route. In this sense, the walking sticks will be of vital importance. This is also because in some agencies the tourist is in charge of his luggage, backpack, or belongings. By using the poles from the beginning, you will be able to reduce relatively the weight used on your knees and therefore resist better the traction of the movement. The latter in case you have some knee problems.
The second day also covers an ascending route. It is even stronger than the previous day since it is considered the most complicated day. This day you will reach the Warmiwañuska pass. During this arduous hike, you will feel how the poles work and how they help in the hike. This day we reach 4200 meters above sea level. After that, you start a long downhill stretch, so it is also advisable to have hiking poles. During the last day, you follow a flat and descending path. Probably this day you will not need walking poles, but in case you have any injury they will be very helpful.

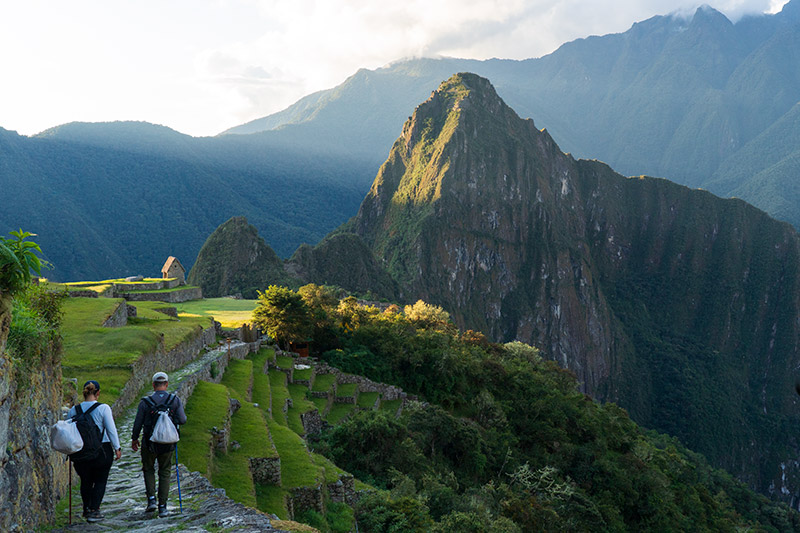
Inca Trail to Machu Picchu
Walking sticks during other trekking routes to Machu Picchu
As in the previous section, hiking poles are very useful. Especially in the routes of the Cusco Andes. Where you have to walk long uphill stretches until you get into the high jungle. All the trekking routes to Machu Picchu, allow an encounter between two different geographies. The encounter with the abundant vegetation of the high jungle, allows the routes to be lighter and even easier to perform because they are made by roads that are regularly under maintenance. It is also possible to find some slippery stretches, especially during the rainy season. On the other hand, the hikes usually start in the Cusco Andes, places with little vegetation.
The most popular trekking routes to Machu Picchu are the Salkantay Trek and the Inca Jungle, of course, we are not counting the classic Inca Trail route. These two options follow a common route from Hidroeléctrica. Hidroeléctrica is another route to get to Machu Picchu. In the first route we mentioned, it will be advisable to do the route with hiking poles. This is because it has an ascending section that will connect with the Salkantay snowy pass. The route to this place is long and also requires a great effort of the knees. In case you dare to do this route, it is 100% recommended that you do the trek with these hiking accessories.
Finally, the most impressive route that will connect with Machu Picchu and at the same time is the longest; is the Choquequirao Trek. This route can be done for 7 days of arduous trekking and through different geographies. The first days of trekking are combined routes of ascending and descending sections. In case you are about to do the Choquequirao Trek, we recommend you do it with the help of trekking poles to avoid muscle fatigue, cramps, or similar. The section is demanding, especially for those who could not have previous physical preparation. However, it is advisable to use the trekking poles, even if you have ample preparation. It is always good to keep a little extra energy in case of an emergency.

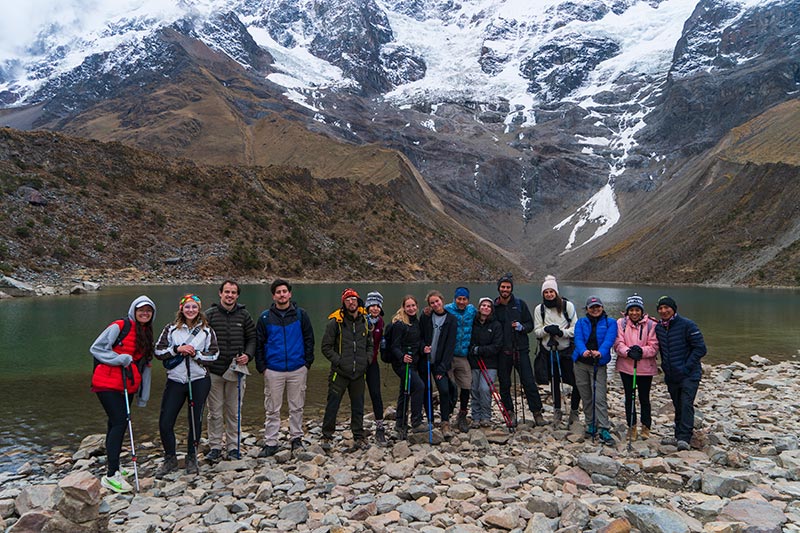
Hike to the Humantay Lagoon
By Inca Trail Machu Picchu - Last updated, 19-03-2024
Interested in the Inca Trail? Know more about Information Inca Trail!
- Inca Trail: prices and discounts
- Inca Trail hike as a therapy to heal body and soul
- What is it like to camp overnight on the Inca Trail?
- Online availability Inca Trail to Machu Picchu 2025
- Sustainability tips for the Inca Trail
- How to get to Ollantaytambo?
